You can download the plugin here.
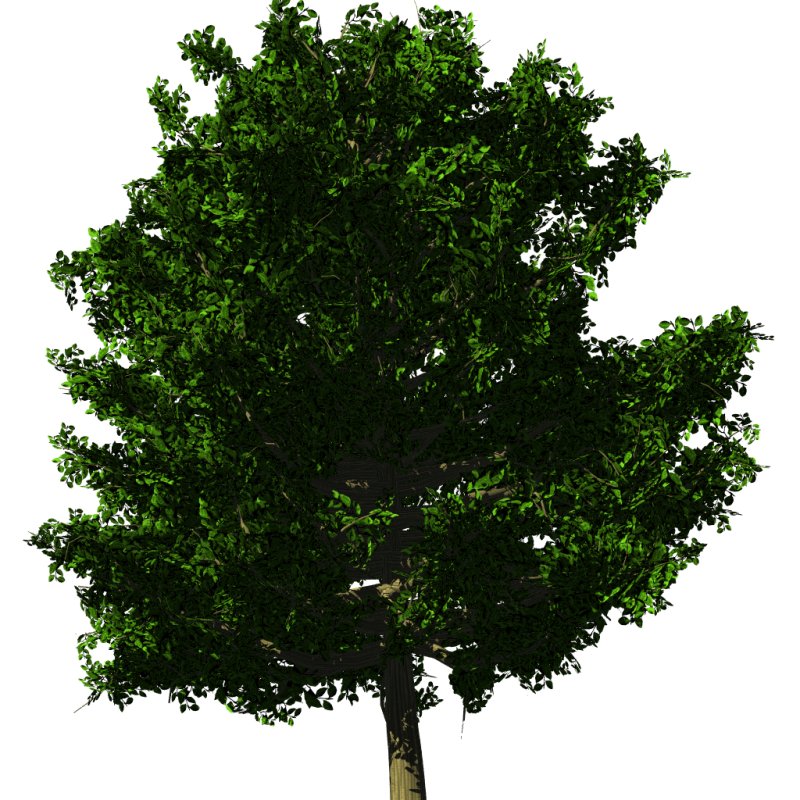
This is a sample image that has been produced with the plugin:
The plugin works on all platforms where those two programs work (on Windows & Linux it works fine, I don't know about Mac. You should check on the programs websites)
2. For the script to work, you also need to have povray availible directly from the command line. On linux systems, if you installed povray with your package manager, it will usually be availible by default. Check by typing:
povray
in a terminal. You should get a long list of povray options. On windows, things are a bit more complicated... I actually still couldn't find a decent way to run povray from the command line (which is a bit absurd, povray being a command-line app). So, in the meantime, the best way is to open the exported .pov file in povray for window And render it from there. But I'm looking for a better solution!
3. One last thing you might need: Povray is very picky about security. It is, by default, not allowed to access your whole filesystem, even for reading only. Therefore, if you use textures located somewhere on your hard disk, you'll need to allow povray to access them. To do so, on linux, you need to edit your povray.conf file (located in /etc/povray/(version number)/), on windows by opening povray and changing the Options -> File IO Restrictions menu. Change the IO restriction to "none" no particular rule apply, povray can access your filesystem the same way as other programs, or "read-only" (same, but only for reading).

Light coming from lets you choose if light comes from left or right. Since those plants are generally intended for stuffing exterior scenes, I didn't find very useful to put more options here...
Light intensity lets you multiply light factor if your image is too dark (or dim it if it's too bright). 1 is normal, 2 means 2 times more light, 0.5 means half intensity, etc...
Keep .POV file after render lets you keep the produced .pov file (the file passed from ngPlant to povray for rendering) after rendering, instead of being deleted immediately. This can be useful for debugging or if you want to use it in other povray works. Note, though, that I didn't try to make a very optimized pov file, so it might not be very usable to you if you are used to povray programming. The pov file will lie in the same directory as the png file.
If everything works fine, after a little time the rendering should start in a separate window. When it's finished, just click on the image to close the rendering window. The rendered image will be saved where you specified it.
That's it, enjoy, and if you have any comment or question, head for the guesblog!