In this tutorial, we will focus on modelling the right way, with total precision. We won't be creating anything. That's for the next tutorial :). We'll take 2D drawings of a house, and model it precisely so it can be used to generate precise 2D views, plans and sections, so we can snob our Revit-loving friends... And of course we will need to do that VERY quickly (production environment, remember?). And we will be using top-of-the-line snap tools that will make you feel like in your favourite CAD program... or, I hope, better than in your favourite CAD program.
Since we are "in family", I might use a couple of specific terms that you maybe don't know if you are not an architect. I'll do my best to avoid that, but if something is unclear to you, just mail me and I ll try to clarify...
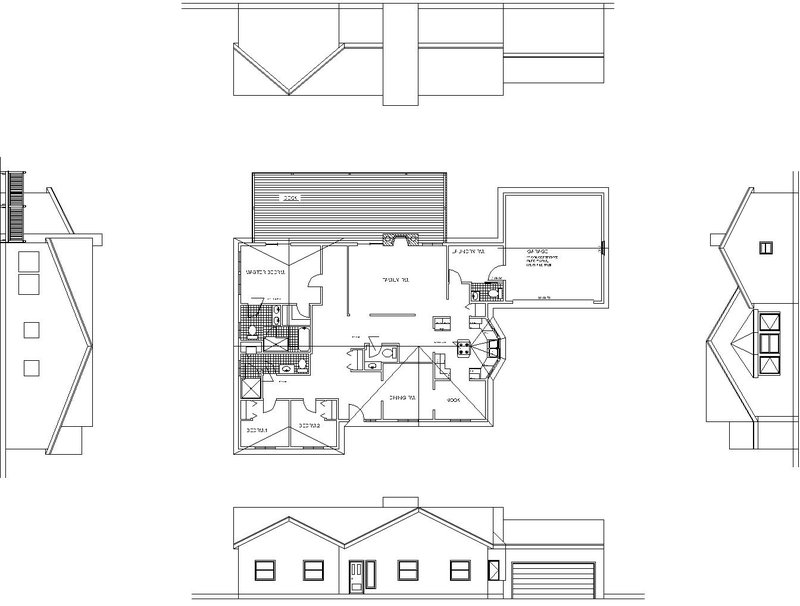
This project was availible on the net as a DWG file, which I simply converted to DXF. DXF format can be "more or less" described as a "present" from Autodesk to the community, it is a "free" and "open" version of the DWG format, and can "officially" contain everything a DWG file contains. The format is "owned" by Autodesk, which "kindly" maintains freely availible documentation, so anyone can freely implement DXF opening and saving functions in programs. So DXF format is today widely used in the open-source and non-autocad worlds, since you don't need to pay Autodesk (at least until now) to implement it. There are several free tools on the internet to convert files from DWG to DXF, such as the OpenDesign converter or ACME CAD Converter (these programs are windows-only, unfortunately).
You can download the dxf file here.
We will be using the new DXF import script to import our 2D project in blender. We have two entries in the blender import menu: DXF (the old, built-in dxf reader) and Autodesk DXF (.dxf) (the new script). The new one can read many more object types, like blocks, mtexts, etc... and is being worked on actively. It can currently read dxf files up to the autocad 2007 version. A complete description of the importer options can be found on the blender wiki.
Importing CAD drawings is always a bit tricky, for the reasons I mentioned above. So, don't be surprised if the importer fails when trying to import a DXF file. Just remember that sometimes you need to do heavy cleaning work on it, but until today there is no DXF file I didn't manage to importing successfully. On the wiki page I linked just here above, you can find several tips to do that.
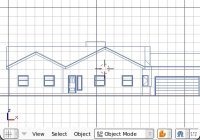
So let's fire up blender, and import our file. Note the importer has a config menu where we can adjust a couple of settings. But let's keep the defaults settings for now and just press the "import" button after selecting our DXF file. When it's done, we should have our drawing perfectly translated in blender objects:
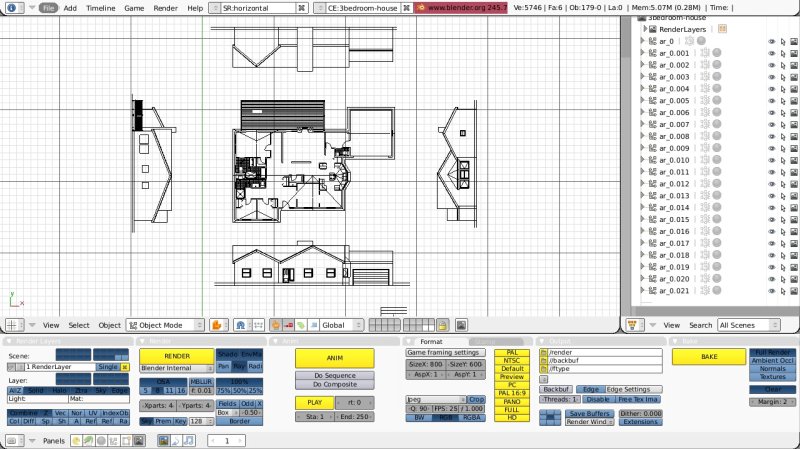
Notice that our outliner window, and therefore our blender scene, is filled with hundreds of objects. In a CAD program you wouldn't mind, but in Blender it will be very uncomfortable. So let's join all this in fewer objects. Let's make 5 objects: 1 for the plan and 4 for each of the elevation views. To do that, just select all the objects you want to join and press CTRL+J. For the join command to be availible, one of the selected objects must be active. Just shift-click any of the selected objects to activate it, if needed.
Maybe the DXF importer already grouped some of your objects, according to the layer they belonged to in the DXF file. If it is the case, the easiest way will be to join everything in the scene into one single object, then split it in 5 parts (P key in EditMode), like this:
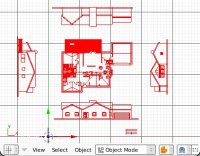
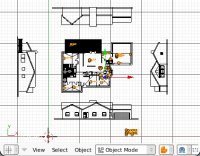
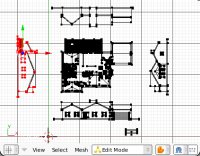
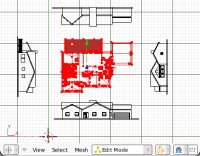
This is a good moment to remove double vertices (enter edit mode, select all then W key), to do a little cleaning.
Next step will be the important one. Have you seen how the elevation views are drawn right next to where they are on the plan? This is a very cleaver way to work in CAD, you just rotate your viewport so you always have your current working drawing horizontal, but with the plan correctly aligned on top of it.
In blender, rotating the viewport is a piece of cake, just use the 4 and 6 keys from the numeric pad. But we can do better. Much better. We'll put the elevation views on foot. Do this for each one of them:
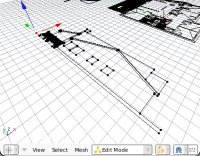
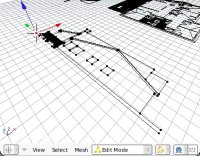
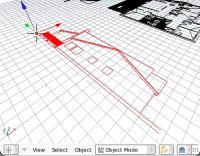
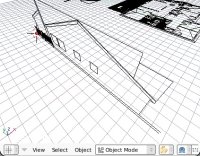
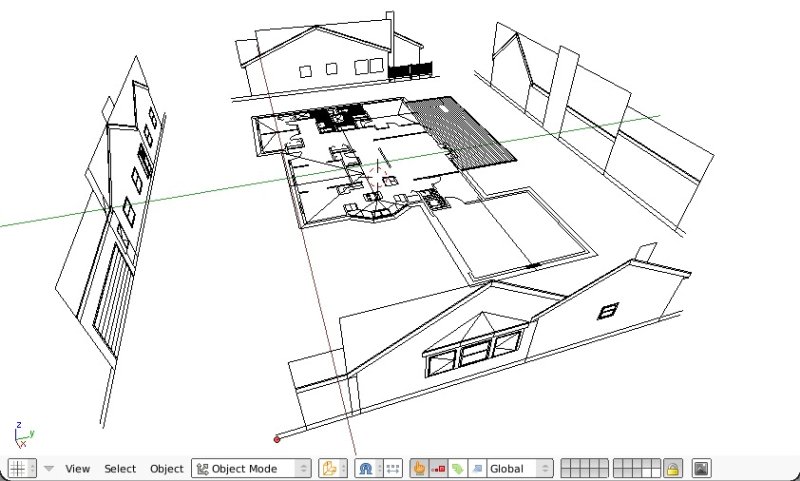
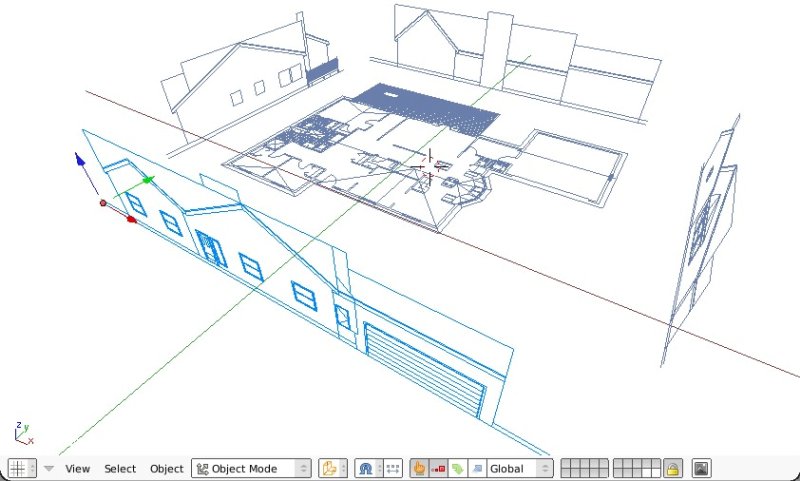
Now just a last cosmetic operation: When our model will grow, it will become quickly difficult to distinguish these 2d drawings from the model. It would be nice if they had another color. Well, blender has two object tyes that can gain another color: Linked objects and groups. Linking is easy, you would simply make another blend file, and link the objects from this one into it. But here for simplicity, we'll want to keep all objects in the same file. So the simplest way is to make all our 2D drawings part of a new group, that we can call "2d".
All the group operation buttons are on the Object panel (F7):

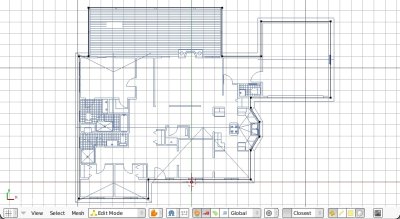
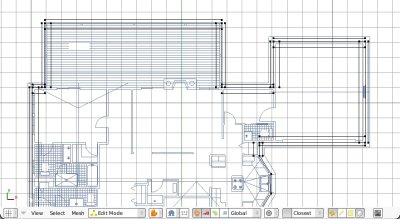
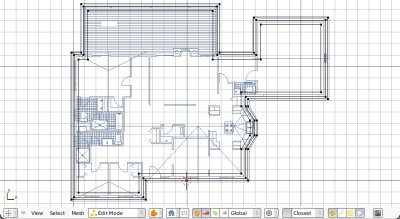
So, put yourself in plan (top) view, put your cursor back to origin (SHIFT+C) to make sure you'll be building at Z=0 level, and let's create a first plane, that will be the base of our walls:
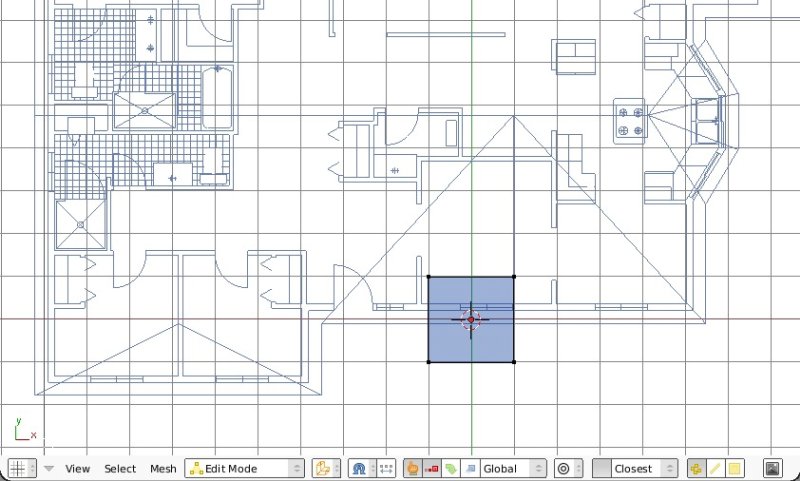
Snap works typically like this:
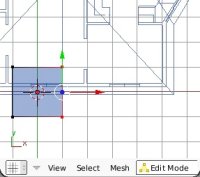
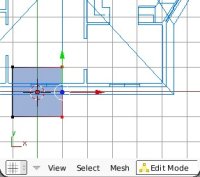
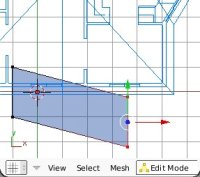
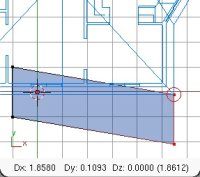
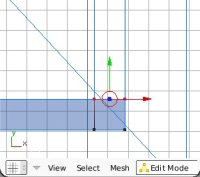
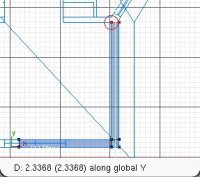
Until now it doesn't feel very impressive, right? Well the fun part will be right now. The snap function can actually be constrained. This means that while snapping, you can press X, Y, Z or your middle mouse button, or even SHIFT+X, SHIFT+Y, SHIFT+Z to constrain the snapping. If you press X, this means you'll only be snapping to the X coordinate of the snap point.
This is extremely powerful, you'll understand right now:
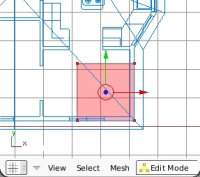
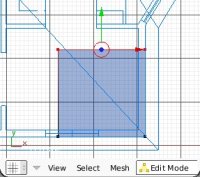
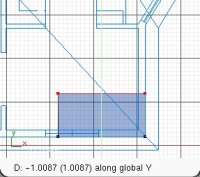
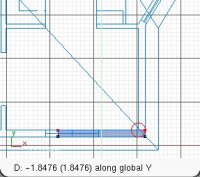
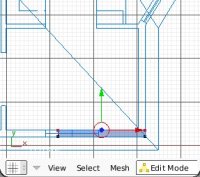
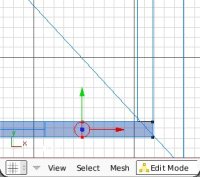
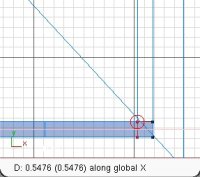
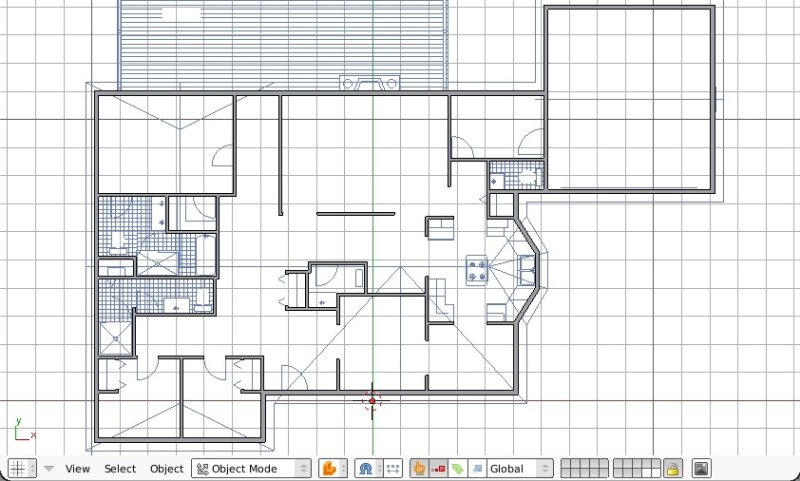
Now cutting the doors and windows is a piece of cake, just cut the walls, (CTRL+R) then move the newly created vertices, then delete the face that lies on the opening. Unfortunately the CTRL+R function doesn't support snapping yet, otherwise it would spare us the move operation. Surely this will be fixed soon.
For more complicated windows (in the kitchen for example) you'll need to move some vertices one by one since they are not orthogonally aligned.
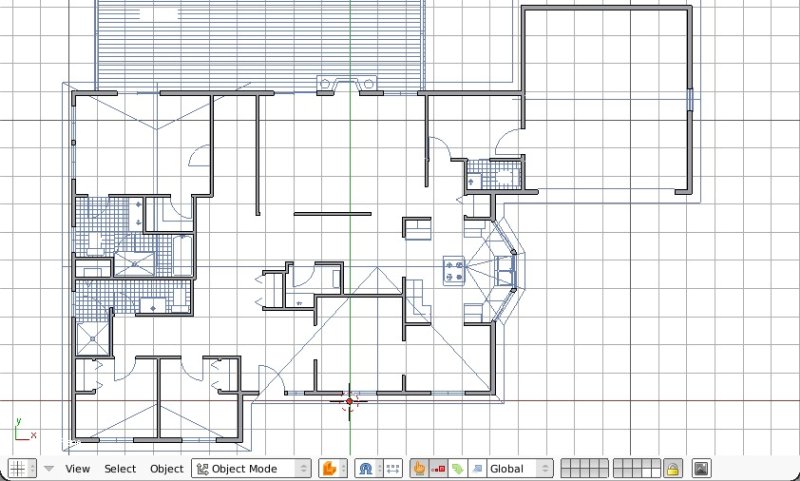
Still in EditMode, CTRL+click an elevation to be able to snap to it. Then, select all our walls (A key), extrude, constrain vertically (Z key), and snap to a point of an elevation:
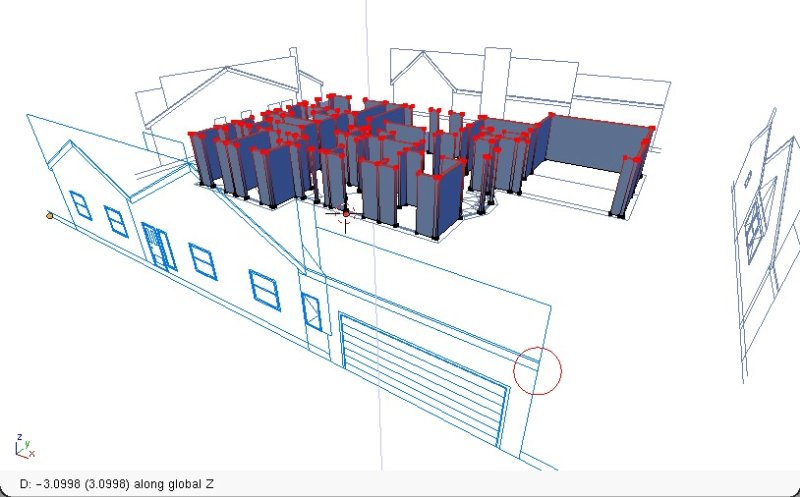
So now, let's close the door and window openings:
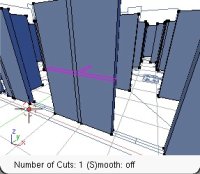
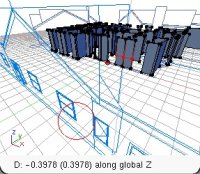
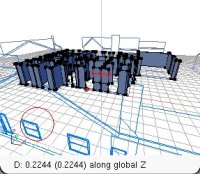
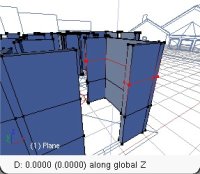
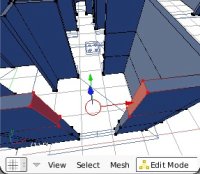
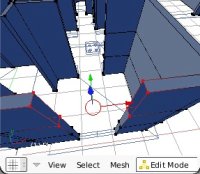
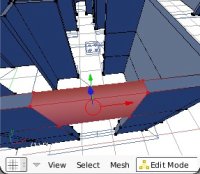
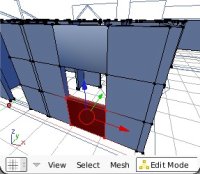
You may have noticed that the newly created faces have a different shading? This is because the skin function set them to "smooth". This is easy to fix, go back in objectMode and press the "setSolid" button on the F9 panel.
Another thing that usually disturbs newcomers to blender, is that your mesh quickly becomes full of cut lines. Actually, there is nothing wrong with that, it's just the "blender way" of showing everything to you. Other applications usually hide the complexity from the user (which we can easily do too, select adjacent faces, press F and Make F-Gon) , but blender users generally don't want anything to be hidden from them. They want total control over every single thing. We too, don't we?
Just make sure your cut lines always form loops, and try to avoid triangles, and you won't have any big problem...
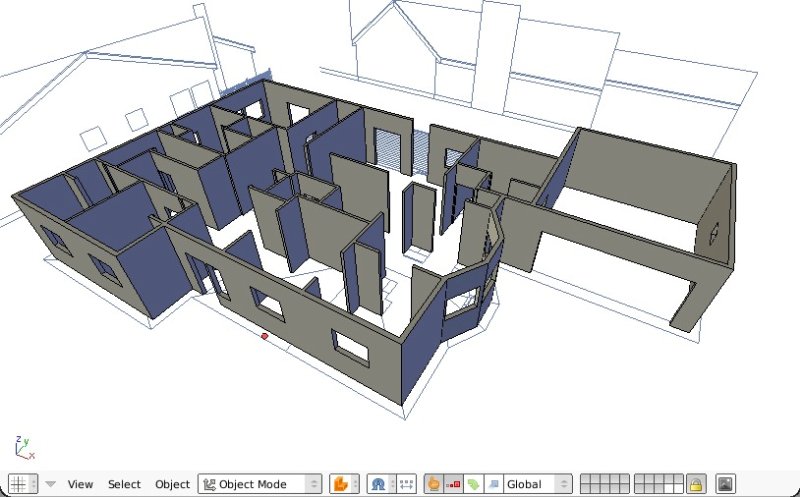
But in case you are working on something different, remember that we have always ways to move vertices by numeric value, using absolute or relative coordinates:
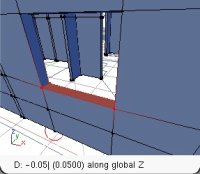
Select the vertices you want to move, then simply press an axis key (X, Y or Z) and then the value. For example, lowering those 4 vertices by 10cm would be: Z, then -0.10, then enter.
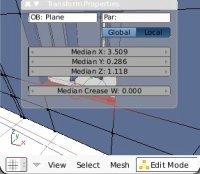
Pressing the N key shows a coordinates screen. There, you can set absolute coordinates. For example, here, since our 4 vertices are plane, their median Z is the exact Z of each of them. So, changing this value to let's say 1.00 will place them exactly at 1.00m above the ground line, which is at Z 0.00.
There are a couple of scripts around that can help you with those tasks, but with a bit of thinking we can easily do that with standard blender tools too. Construction geometry is something simple to do, that not only helps you to put vertices at the right places, but also teaches you a lot about spatial geometry.
One important thing is that you must understand well how the roof is made. This is not easy to figure out, so let's go step by step. First, see that our floorplan has an outline, showing the projection of our roof. So let's draw a line over it:
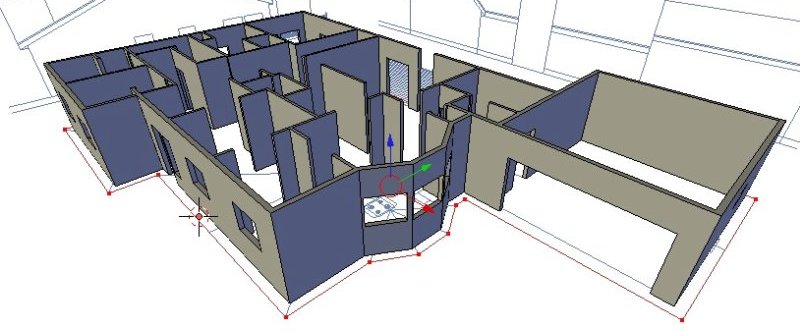
Notice that on our elevations, the roof is drawn with 3 lines. This is because there is a roof material, probably roof tiles, and a structure beneath, probably wood. We'll choose to build our roof following the top line, and then extrude below. This is more logical, since what is the most important is the exact roof line, not so much the stuff that supports it. So let's do it:
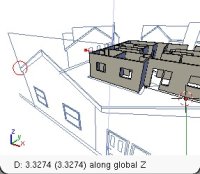
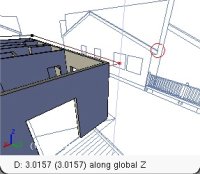
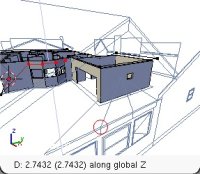
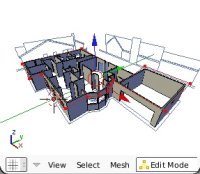
So what are we going to do now? Fortunately, we'll be able to fix the error easily. Right now, it is hard to tell which height is the right one. So pick any height for now, and let's start to build the real roof. When we'll begin to get a good roof shape, it'll be obvious to us which height is the right one. Now look at this:

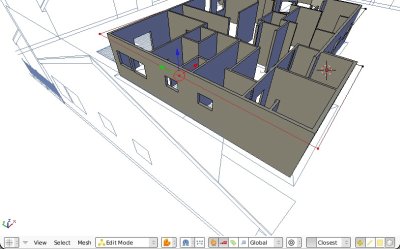
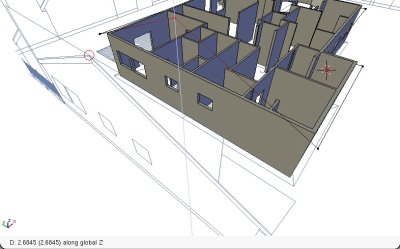
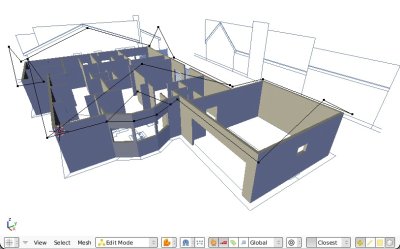
Some points are harder to find, for example this one:
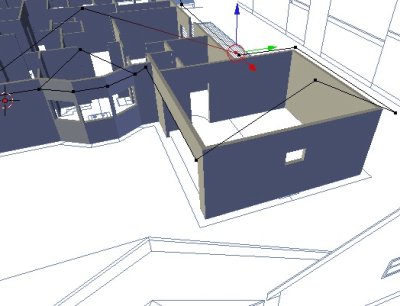
Once you have your rooftop point, extrude it (E key) and constrain it in YZ plane (SHIFT X key), then snap it to any point of the horizontal line. this way, you are sure your new point is in the same vertical plane as the rooftop point.
When building roofs, as well as anything that is not drawn (or in our case, not correctly drawn) in the 2D drawings, you wil need to decide things yourself. There is one big rule in architecture: What is not drawn is not solved. So, be prepared, you'll need to solve things yourself. This roof is an example of that. You'll need to solve problems, put points yourself at the right place, etc...
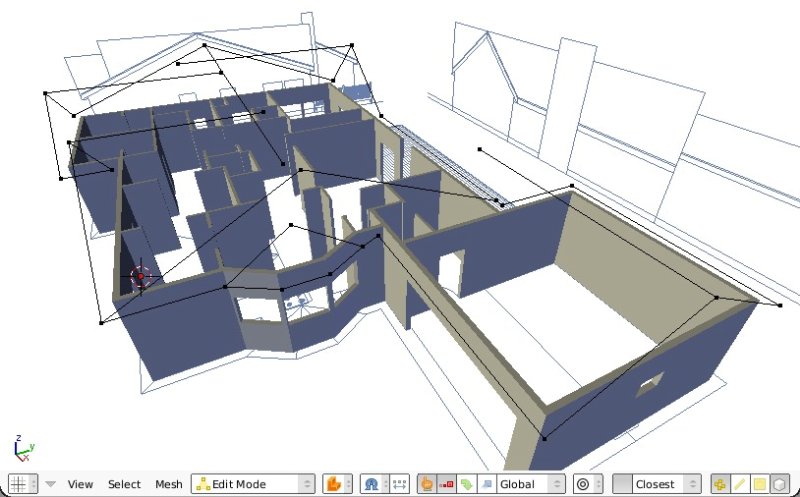
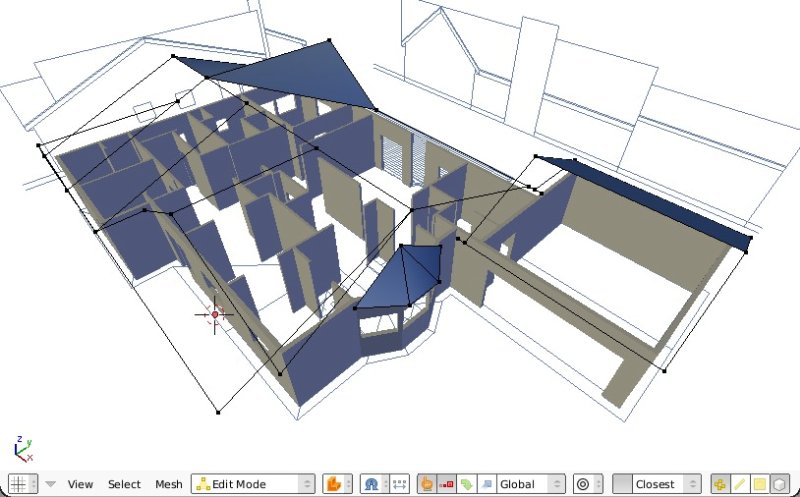
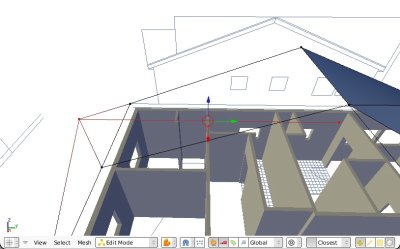
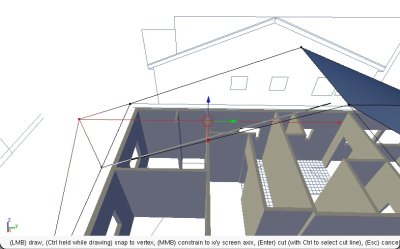
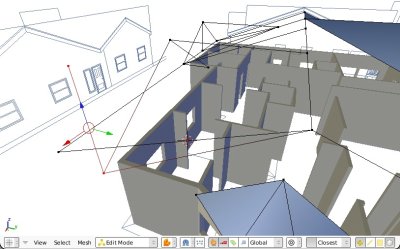
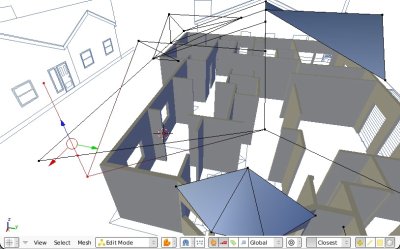
After so much suffering, we should now have something like this:
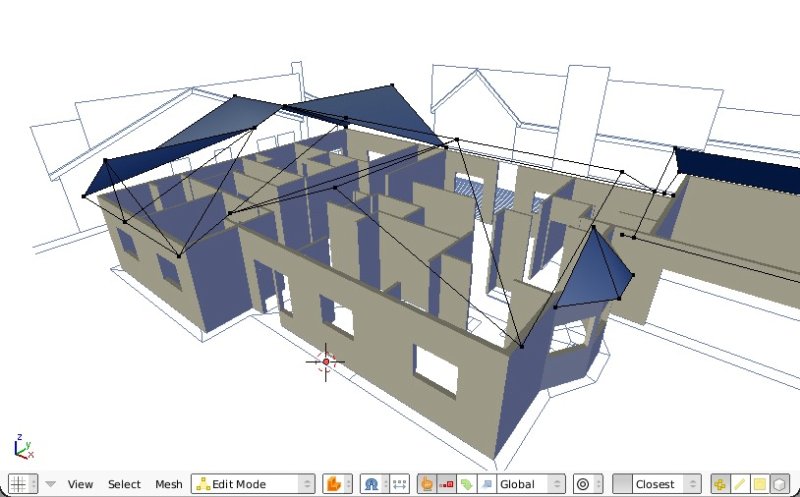
That geometry part is quite hard to do, right? That's where you need a good sense of 3D space. What is above, what is underneath, etc... You can see that working exclusively in 2D makes you easily make errors and miss things, because you don't use that sense of 3D space, and you actually don't understand fully your own project.
There is one little thing that is still not solved, it is a small part of roof between the main house and the garage. It is a bit badly designed, and it is not easy to cover with roof. Try to find a best way to cover it and to join the two roof parts. I did it this way:
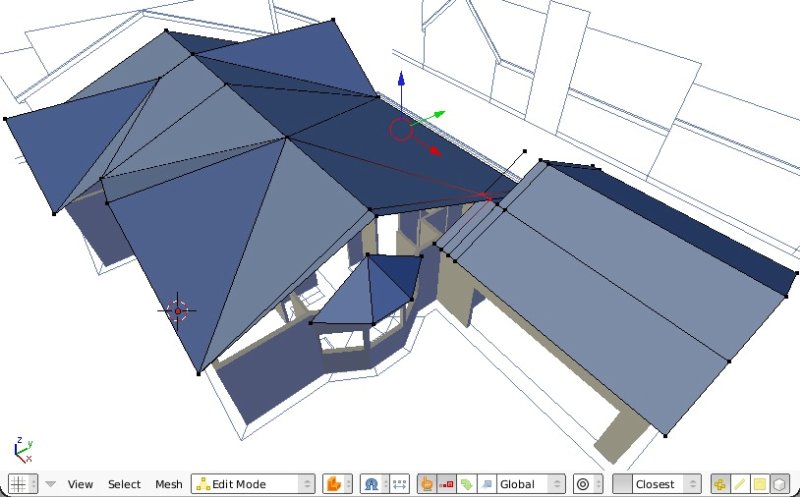
Now the last step is to extrude our roof, which won't be difficult if our meshes are manifold. Always keep in mind this golden rule: Inside edges must be shared by exactly 2 faces (border edges have only one face, obviously) and you'll always build proper meshes.
So le's extrude the roofs. How are we going to make the two layers, the roof layer and the underlying layer? Well, up to you. I think in this case, since the wooden structure layer has exactly the same horizontal projection as the roof layer, we can make two extrusions, exactly the same horizontal size, the lower one thicker. If you are less lazy than me, you can try to make a small "tooth", make the lower layer a bit smaller than the upper one.
So take your roofs one by one, and extrude them twice vertically (Z key), snapping to the elevation drawings:
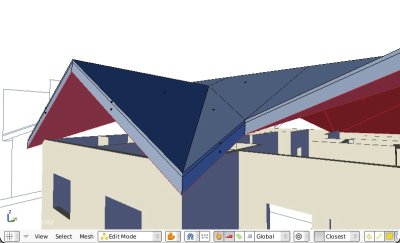
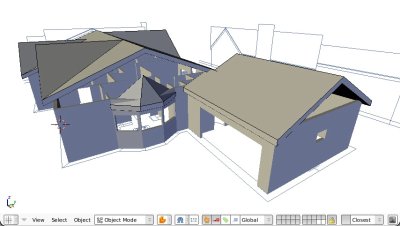
Now we still have a couple of things to finish, mainly we need to make the walls reach the roofs and be cut exactly by the lower side of the roofs. So, let's begin with pushing the top vertices very high:
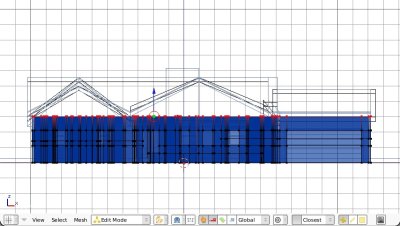
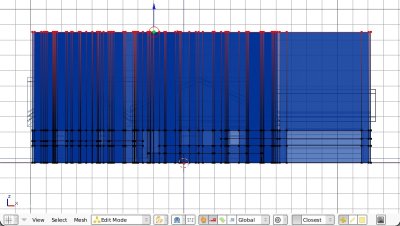
Then, we'll have to repeat the method below for every roof pane:
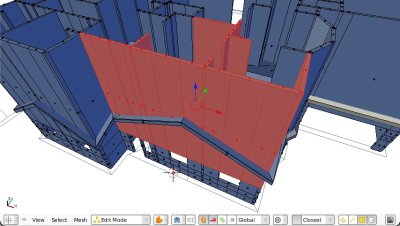
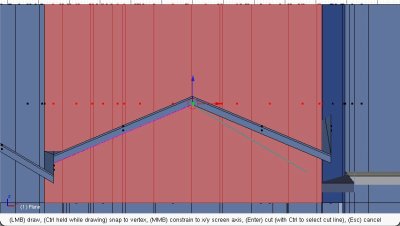
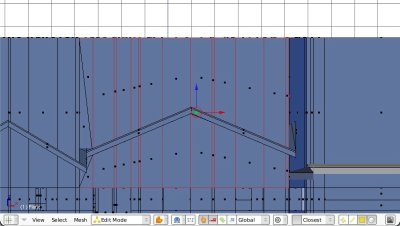
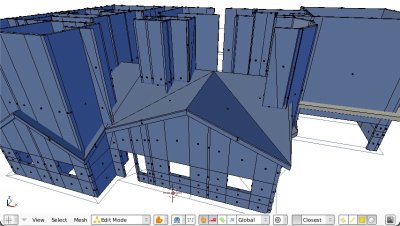
Repeat until no wall appears above the roofs, then separate the roofs from the walls (select one vertice of a roof, then SPACE bar > Select > Linked vertices, then P key). You'll see a couple of problems, probably, like the holes below. No big deal, we are going to correct this.
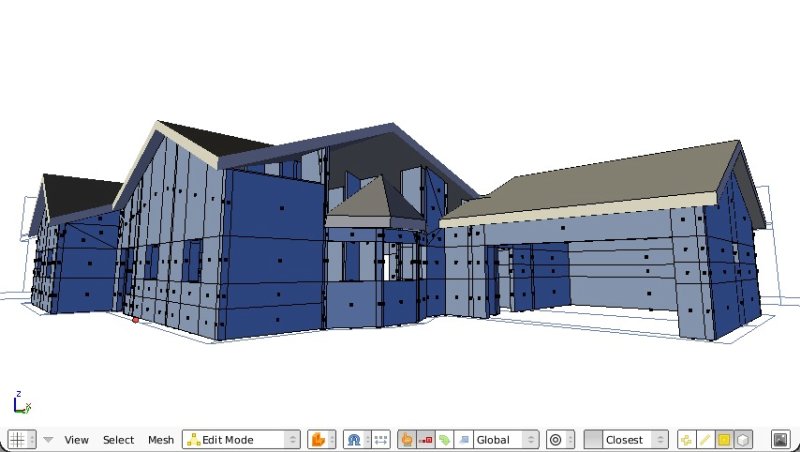
So hands on, this is the last boring part. take 4 vertices at a time (or 2 facing edges), and make a face of them. When a wall face is missing, it'll probably be easy to rebuild it.
Sometimes making 4-vertices faces (also called quads) is not possible, and we'll have to do some triangles. Try to do the maximux possible with quads...
Of course we have automatic functions to close that big holes, but they won't respect exactly your mesh subdivision. If you do it by hand, you'll get a much cleaner mesh later, if you need to edit something.
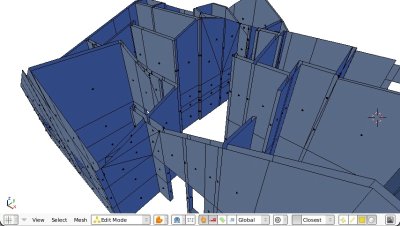
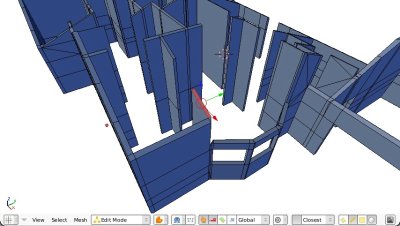
Last thing we need to do here is to recreate a flat wall above the bow window. Quite easy, just join left and right sides, then cut it vetically in the middle to create the rooftop edge:
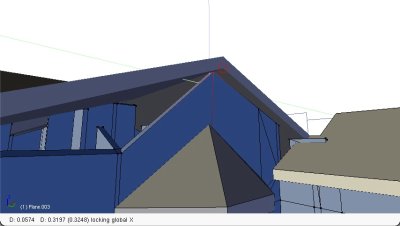
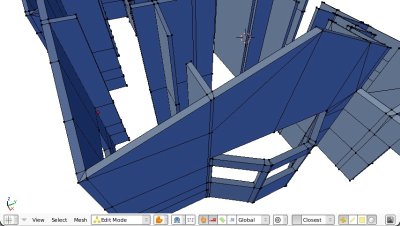
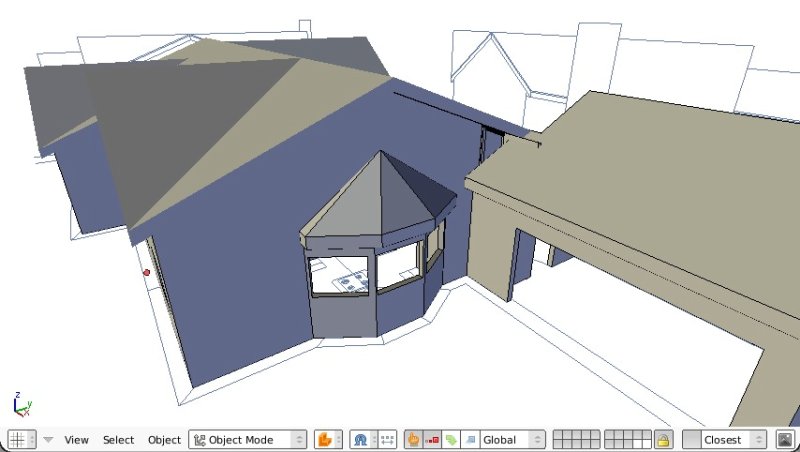
Like always, try to follow your own judgement. For example, look at the small roof here above, I had to adapt it a bit (the 2D plan underneath is not drawn correctly).Do that whenever necessary.
The junction between the main house and the garage is still a problem we'll need to solve. That's a typical point where your creativity is required: Invent a solution! There is an interesting operation here, so let's see it step-by-step:
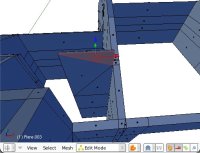
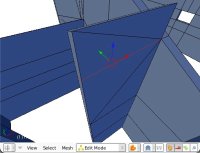
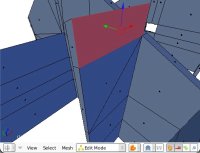
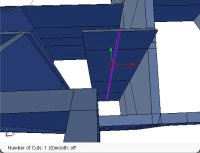
You are probably thinking: "so much effort for doing all this!". Well, one thing is true, blender is not a CAD program. So it doesn't have specific tools made for architecture, we need to use more generic tools.
But there is one big advantage to all this: our wall mesh is highly optimized. It is regularly cut, and made almost entirely out of quads. This means: very easy to edit. That's the reward of doing it by hand. I doubt much that any more automatic method would be able to give you such an optimized result. When you'll need to change something, it will make a huge difference .
We could have used booleans operations too. It would have given us a perfectly precise cut too, without the need to "close" the walls by hand. But everything would have been split into triangles, and our nice geometry would have been quite messed up... Up to you to decide. it it is important for your model...
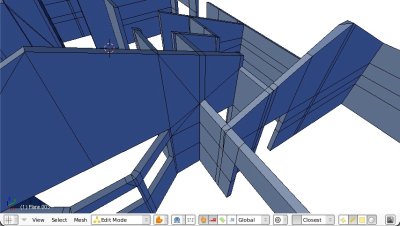
I'll show a quick way to do a window frame, but I won't do them all because it would make this tutorial very long. Besides, we rarely need so much precision as we did until now when we draw window frames... There is no need to compute volume, and windows change much if you use another material, etc... So it would be almost certainly lost work if you spent much time on them.
Here is a quick way to do a decent one that will look OK in renderings as well as in section drawings:
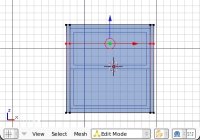
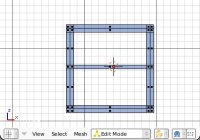
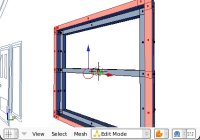
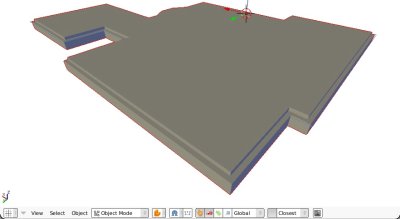
Now let's do a base. I'll do a concrete slab and a fundation line of arbitrary width of 60cm by 80cm deep. Fundations must be calculated, not estimated like I do here, but let's do it like that anyway otherwise we'll never finish this!
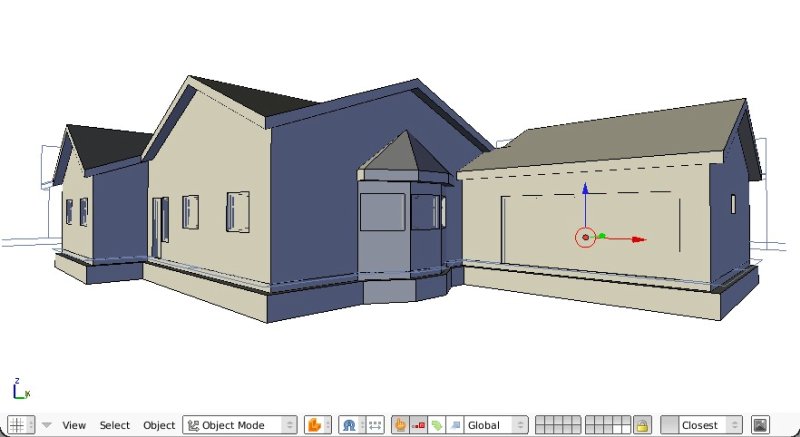
- Make renderings
- Extract 2D Drawings
- Calculate volumes and quantities
Now the two other things are far more interesting, so let's look at them better.
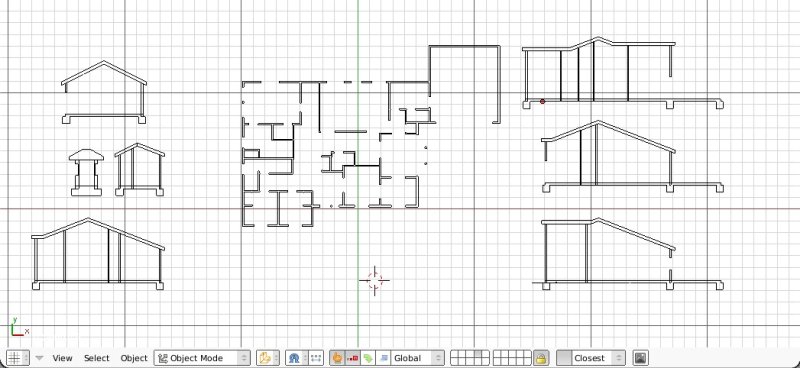
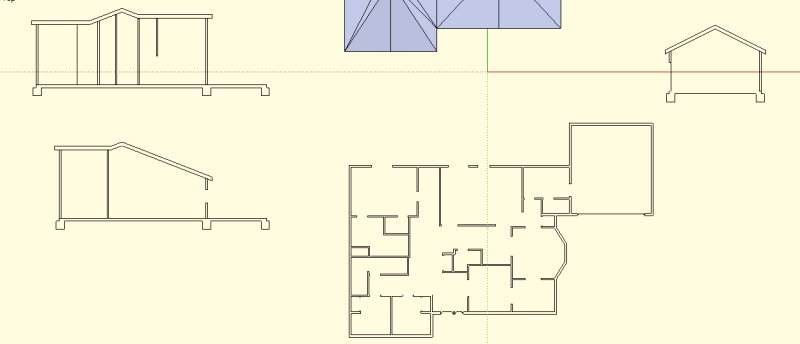
- Extracting 2d drawings
- Export it to almost any engineering or architecture-specific application, that has built-in 2D extraction capabilities (for example Autodesk Architectural Desktop does a fine job). I suggest exporting to OBJ format if your application supports it, otherwise to 3DS.
- Export our model to Sketchup (export it as 3DS). Sketchup (both free and pro versions) is able to cut through a model and produce a nice 2D drawing of it. But the free version cannot export 2D drawings...
- Use a very good blender tool called Pantograph. Pantograph just renders a vector drawing of your model. You just need to setup a camera, that can be orthographic, and Pantograph will render it. Then you can save it as an SVG file. The generated file is a 100% accurate vector pojection of your model, so if you setup your camera correctly, the generated image will be totally precise. Pantograph also lets you define a "cutting" material, that can be used to do cross sections in your model.
- Use a script I made, called CrossSection, that creates cross-section profiles of selected objects at their intersection with a plane. This won't help you to obtain elevation drawings, but works well to get plan and section views. The latest versions of Blender now have a DXF export script, that lets us export our sections to a 2D CAD program.

- Calculate volumes and quantities
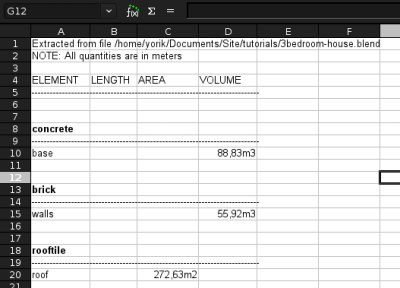
Another little script I wrote, called check Integrity, can help you if you need to calculate volumes. It checks if a mesh is perfectly closed and manifold. If not, the problematic edges get selected so you can fix them.
Don't forget, too, that blender has a built-in function to display length of edges and areas of faces. There are two buttons for that on the Mesh button panels.
Yes, I'm sure you are right. Blender is not a CAD program, but a much more generic 3D program. But neverthless, it is quite amazing what a good job we can do, don't you think? We have already several very good tools. All we miss are a couple of "automatic-roof-making-tool" and other "magic-windowmaker" functions...
So, I hope I could demonstrate that blender, even if it is not (at least at the moment) the Best Total Solution for your Architectural Needs, at least it can do a very decent job, and slowly find its path through architecture practice.
Now, far more important than all this, for me, two things emerge from this exercise:
- Much more important than what tool you use, is the way you model. I've seen many people using very advanced tools like Revit or Archicad making pure modelling mistakes (like for example crossing a concrete beam in a brick wall) and being struck with graphical errors because of that, that they couldn't solve because they were not understanding how the model was being built by the program. So, I sometimes wonder what's the point on using such high-level (and expensive) software. Much more important than that, in my opinion, is your ability to model correctly. If you can model well, you will understand your project well, and you'll be able to solve your problems well, being in Revit or in Blender. Blender is very bare, but it shows your model the way it is built. That is its advantage...
- Precision is highly time-consuming. Use only when absolutely necessary. Generating 2D drawings from 3D models, even if it is our common dream, is still a very delicate task. It is not something you do very often, so in day to day life you actually rarely need totally precise models. In older times, when architects didn't use computers to draw, they were far less afraid than we are of lack of precision. Your precision depended on your pencil. If you were drawing two pencil lines with 2mm between each other, if those 2mm was a wall drawn at 1:100 scale, well, the thickness of your pencil tip represented an unprecision of about 20cm! And nobody was scared!
Sometimes we should
remember that and think that if we draw something very well, but
without being too picky on precision, our imprecision will stay "inside acceptable level", we'll
save a lot of time and we'll do a very good job.
Well, that's it for today. If you want to have a look at the model made during this tutorial, grab it here. And, since we are now very good at modelling in blender, we are ready for the next one, where we'll try to make architecture projects from scratch directly in Blender.
Cheers,
Yorik