FreeCAD Arch module how-to

In this article I'll try to describe you the new Arch module, that will be available in the soon-to-be-released version 0.13 of FreeCAD. I built a small model with it, in order to walk through the different components and tools currently available.

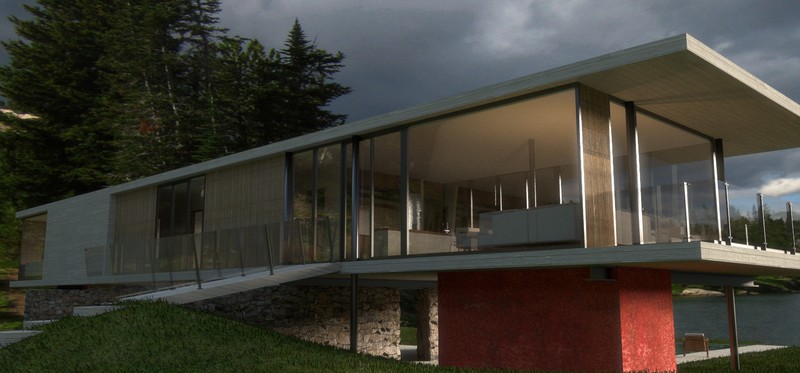
This project is based on a Blender model that I made during the first phase of the project. FreeCAD is a very precise tool, where things such as modifying objects takes much time. For that reason, when what you want is speed, you are definitely better with a faster, free-form modeler such as blender or sketchup. Nowadays, once you built a very imprecise model, it is fairly easy to make things straight and with the right dimensions in Blender, thanks to the very good snapping tools. You just need to build a couple of reference edges, that set things like external dimensions, roof height, and you can snap all your building to them.

Importing a blender model into FreeCAD is extremely reliable. You have several "transport" formats available (OBJ, STL, DAE), but i always prefer the OBJ format, because it is human-readable, it is well implemented in both Blender and FreeCAD, and it allows fairly complex concepts such as NGons (DAE relies on external components in both applications, and STL reduces everything to the most basic entities). All you need to do is select your objects to be exported in Blender, export to an OBJ file (a corresponding materials file will be created, but that one is not used by FreeCAD), and open it in FreeCAD. Due to the Z/Y orientation of OBJ files (the Z is not pointing "up" but "towards you"), you may need to give all imported objects a 90° rotation on X axis, with their placement property.

Once this is done, you can use that mesh as a base to build your model. You could transform your blender objects directly into Arch objects (Creating a wall or structure with a mesh selected automatically turns it into a wall or structure, provided it is solid an dnon-manifold), but in this case I wasn't too sure about the thickness of my blender walls, and I prefered to start from scratch. I started by drawign some guidelines, mostly to have something to snap to later on.

After that I used the wall tool on my line segments, mostly to check if all worked ok, and to see which wall I would align externally, and which one centrally.

I added two axes systems, and a column. By adding axes systems to a structural element, you turn it into an array. If you add one axes system, the structural element gets copied once on each line. If you add two systems, it gets copied on each itersection of the two systems. That is what I used here to place the columns at the appropriate locations.

Finally, I joined all my base lines with the upgrade tool into two objects, one for exterior walls and one for interior walls (they would have different thicknesses and alignment), and converted them into sketches. Then, I adjusted all the internal lines of the sketches, and rebuilt two new walls on top of them. By adding one wall to the other, you make them union (but they are kept as separated objects in the objects hierarchy). This is the big advantage of parametric modeling, all is undoable, modificable.

I then began to work on the bae slab, which in this case is pretty complex, features many different levels, stairs, etc. I basically worked by laying draft wires, then extruding them and turning them into structural elements. I also placed a couple of helper dimensions, to help me figure out how I would do the stairs.

The stairs are pretty simple, once I calculated the size of one element, I just duplicated it a couple of times.

I then added the windows and doors. Both windows and doors are made with the same window tool (after all, a door is only a special case of a window). If you have a face selected when you press the window tool, it enters in sketch mode, allowing you to draw the window directly on the wall. You can use all the sketcher tools such as importing external edges from the wall to place your window accurately. By default, if you draw your window with two closed wires, one inside the other, when you close the sketch, a defualt window will be created by extruding both wires and subtracting the inner one. But you can make about any combination you want, and the different components (the extrusion depth, which wire must be subtracted, etc) is all configurable in the window's edit mode. Just remember to always draw closed, non-overlapping wires.

Doors are made exactly the same way, only the base of the interior rectangle is aligned with the base of the exterior rectangle (the vertical distance between the two edges is 0).

Here I also added the brise-soleils by making a rectangle, another one smaller by offsetting the first one, then subtracting it from the first one, then extruding, the using the Draft array tool to make the serie of 8 brises.

I also made two beams, with a structural element to which I added one of the axes systems, and then added a roof slab, by extruding a rectangle, then adding a small wall on its border. The wall is then added to the slab.

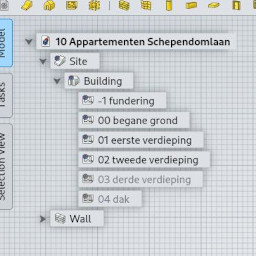
I then added all the objects of the model to a floor object, which will be easier to make sections, since you can assign one floor object to a section, and it will automatically cut through everything that is inside the floor.

Time for a fist test of a plan view, by adding a horizontal section plane object:

I finally added the big window on the front, by building a rectangular block first, which would give me a face to support the window. I then built a sketch on it, with one exterior rectangle and several inner rectangles. As soon as you exit the sketch, the window is created.

The house is now complete, we can add a couple of other section planes, to make sections and elevations.

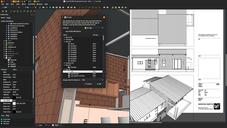
And here is the final result on the Drawing sheet, I used the wireframe rendering for plans and sections, and the solid rendering for elevations. You will of course see imperfectiosn here and there, but remember that the development of the Arch module is a work in progress, and it will still take a lot of time before things are perfect. Anyway, I think this already begins to give us a good base.

From our section planes, we can also extract flat shapes directly in the document, by making Shape2Dview objects with them selected. I made two for each section, one showing everything, and one (with thicker line) showing only the cut lines.

These flat objects export very wall to DXF, with absolute precision. You can then use them to build more complex 2D drawings.

That's about it, in the Arch module you will also find a couple of other helper tools, mainly made to help you to convert meshes to arch objects (split meshes, detect non-manifold ones, etc), and a roof tool, which is still pretty experimental, but already works fine for simple roofs. Remember that all this is still being developed, so don't expect to find the same workflow as in commercial applications. You will likely need to go back, try other methods, etc... several times during your work. But I hope I could demonstrate that the foundations are there, and that FreeCAD can begin to have its place in a productive workflow.

The final FreeCAD file can be downloaded here, but remember that until version 0.13 is released, you will need a development version to be able to open the file.

And don't forget, FreeCAD has a lot of documentation and a very cool community that can help you to get on tracks with it...